Bread. Seriously. I love bread. It would seem pretty simple, right? Then you find out your kid has food restrictions. We have pretty much become experts on reading labels, and it’s amazing what you find on the labels of bread packages. Soon after lamenting this out loud to everyone that would listen (and a few who wouldn’t), I got a message from my mom. That message had a link saying “Is this safe for Reese?” What followed was nothing short of amazing. Ladies and gentlemen of the jury, I present to you….
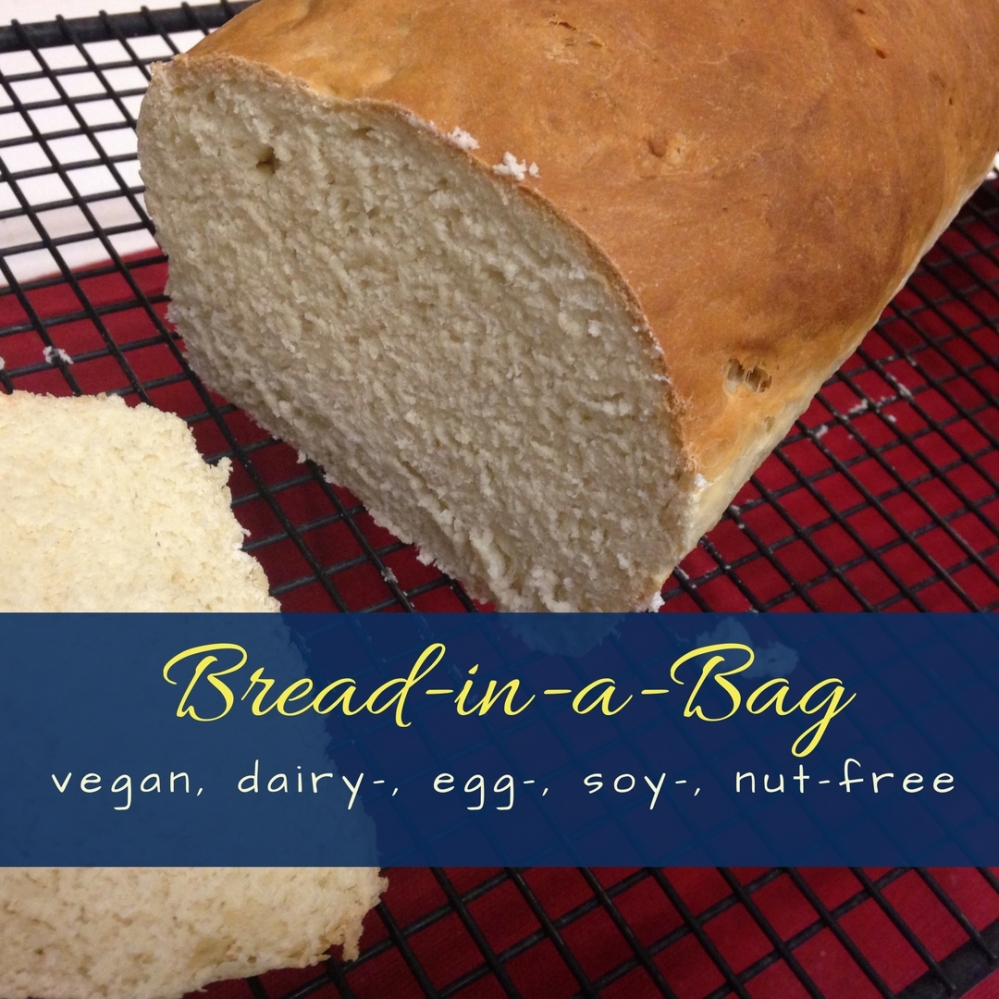
This is so good, and SO EASY! And, since Reese can have wheat, this is a great recipe for us
to have in our back pockets. Our girls have a lot of fun helping because they like to get their hands in and squish the bread dough. 
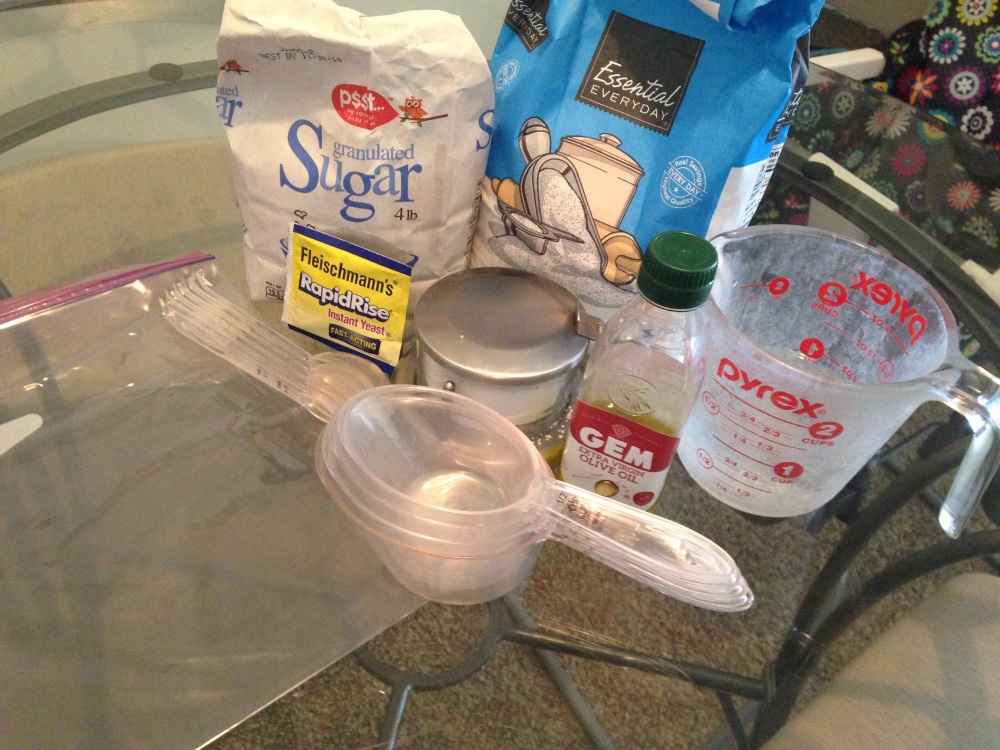
Now this is the kind of ingredient list I like to see! Flour, sugar, water, oil, salt, yeast… and that’s pretty much it. (Exact measurements are included below.)
First, add 1/3 of the flour, the sugar, the yeast, and the water to a gallon zip-top bag. Then completely zip up the bag and squish it so the ingredients are well mixed. This is where the kids come in really handy. They love this part.


Let it sit for ten minutes until it gets a little bubbly. It should look like this: 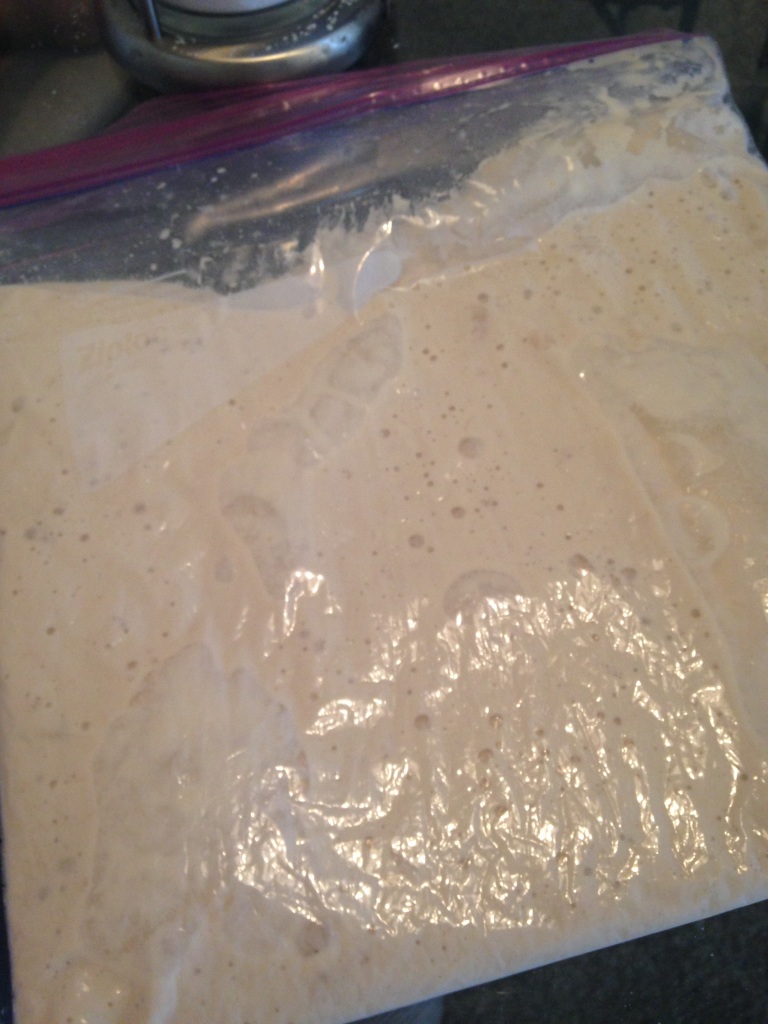
Carefully open the bag. Before you add the next ingredient, take a moment to smell what you have in the bag. Ahhhhhhh…….
Ok, now add another 1/3 of the flour, the salt, and the oil. Zip it up, and squish again. Now it will start looking a lot more like bread dough at this point.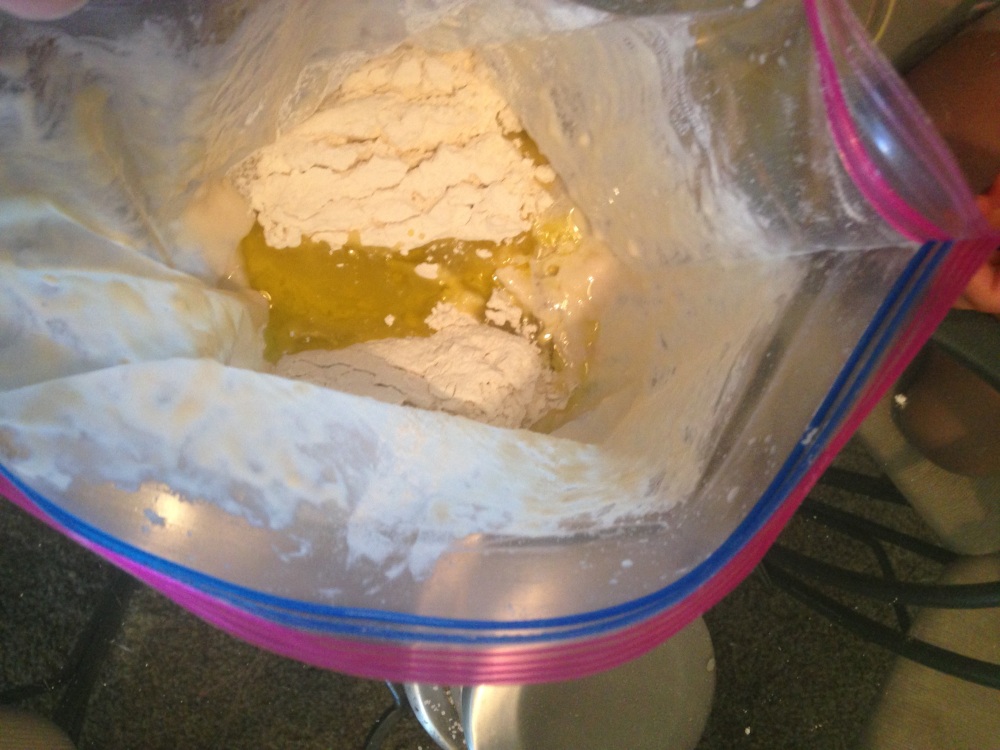
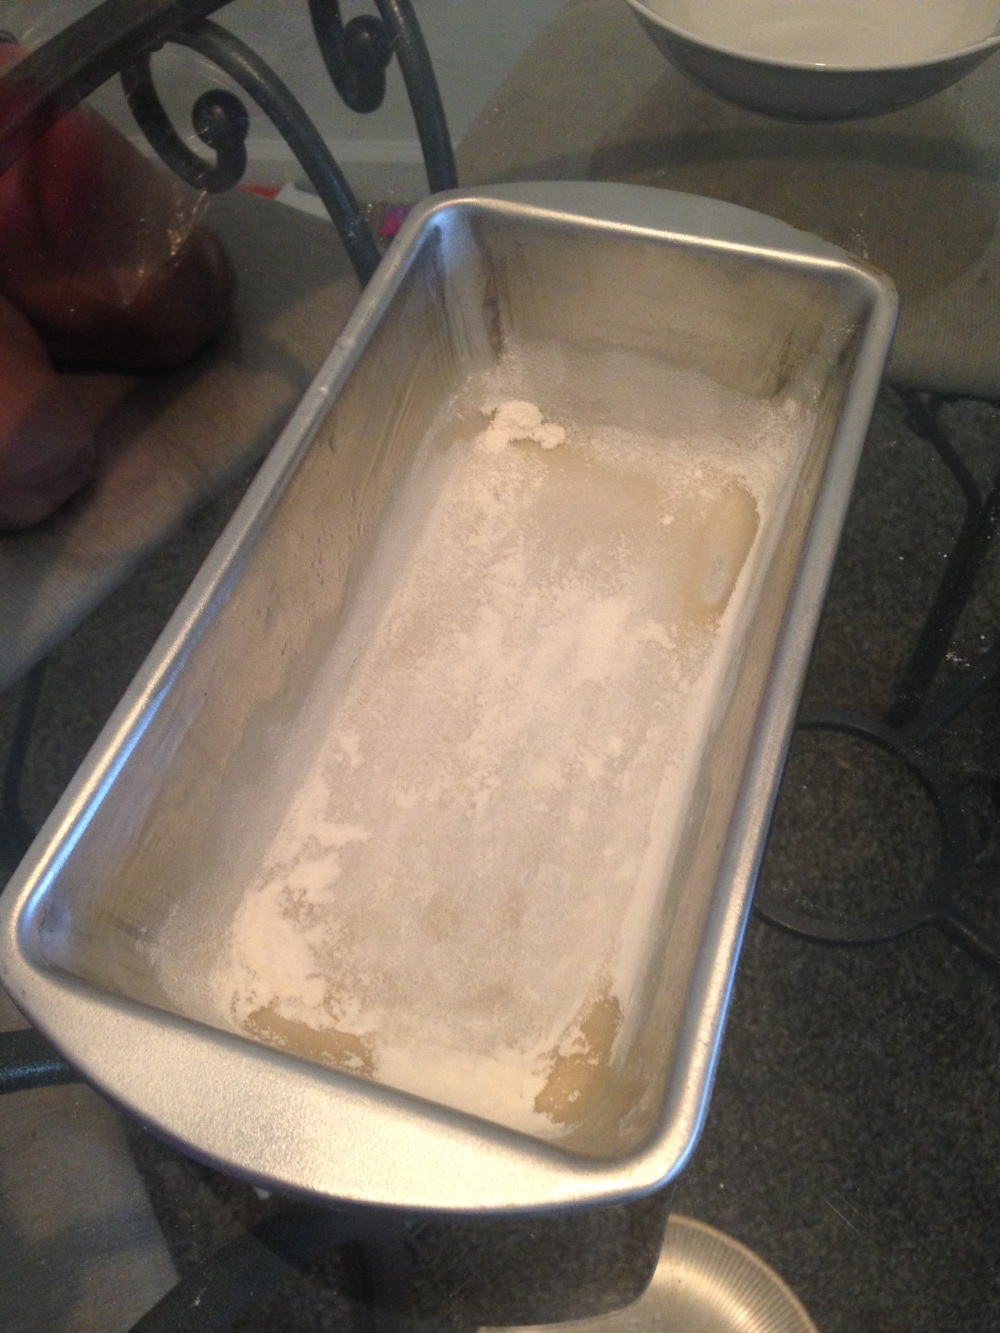
Once that is well-combined, open it up (go ahead and smell it again… mmmm, bread….) and add the last 1/3 of the flour. Squish it up really well one more time. If you have kids helping you squish, this is a good time to prepare your loaf pan. Lightly oil the bottom and sides your pan (I use coconut oil for this). Then add a little bit of flour to the oiled surfaces.
Once everything is well mixed, pull the dough out of the bag and put it on a lightly floured surface. Knead it for about 5-10 minutes, then shape it into a loaf and put in your prepared loaf pan. Neatness does not count here. Just call it “rustic” and accept the imperfections!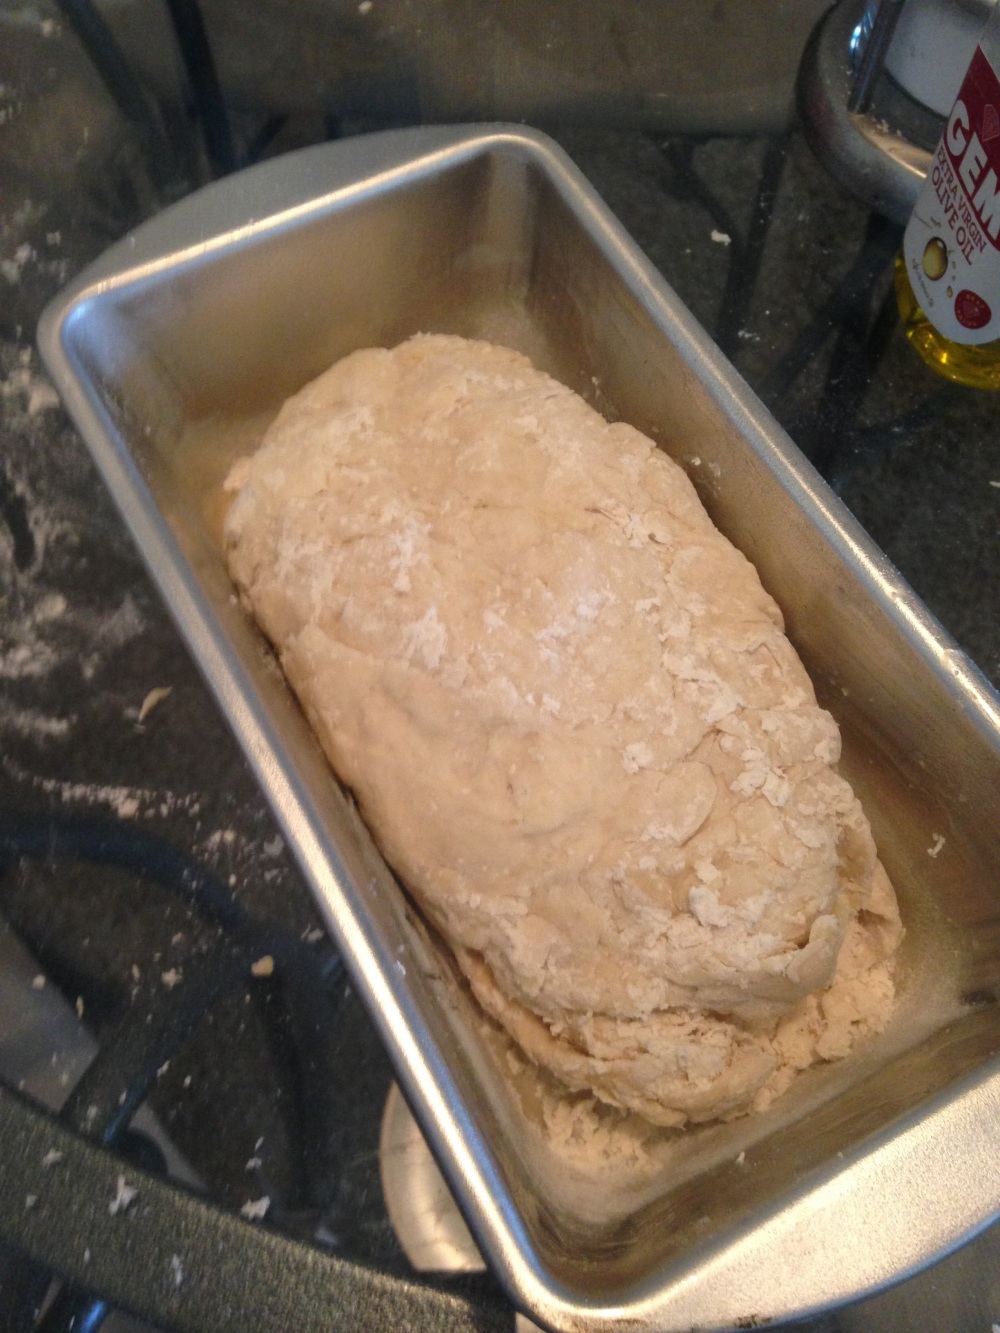
At this point, you need to let it rise in a warm place for 30 minutes. And here’s where the real
talk begins. My kitchen is not very warm. First time I made this, it didn’t rise very much at all, and it came out super-dense. So, the next time, I improvised a warm place.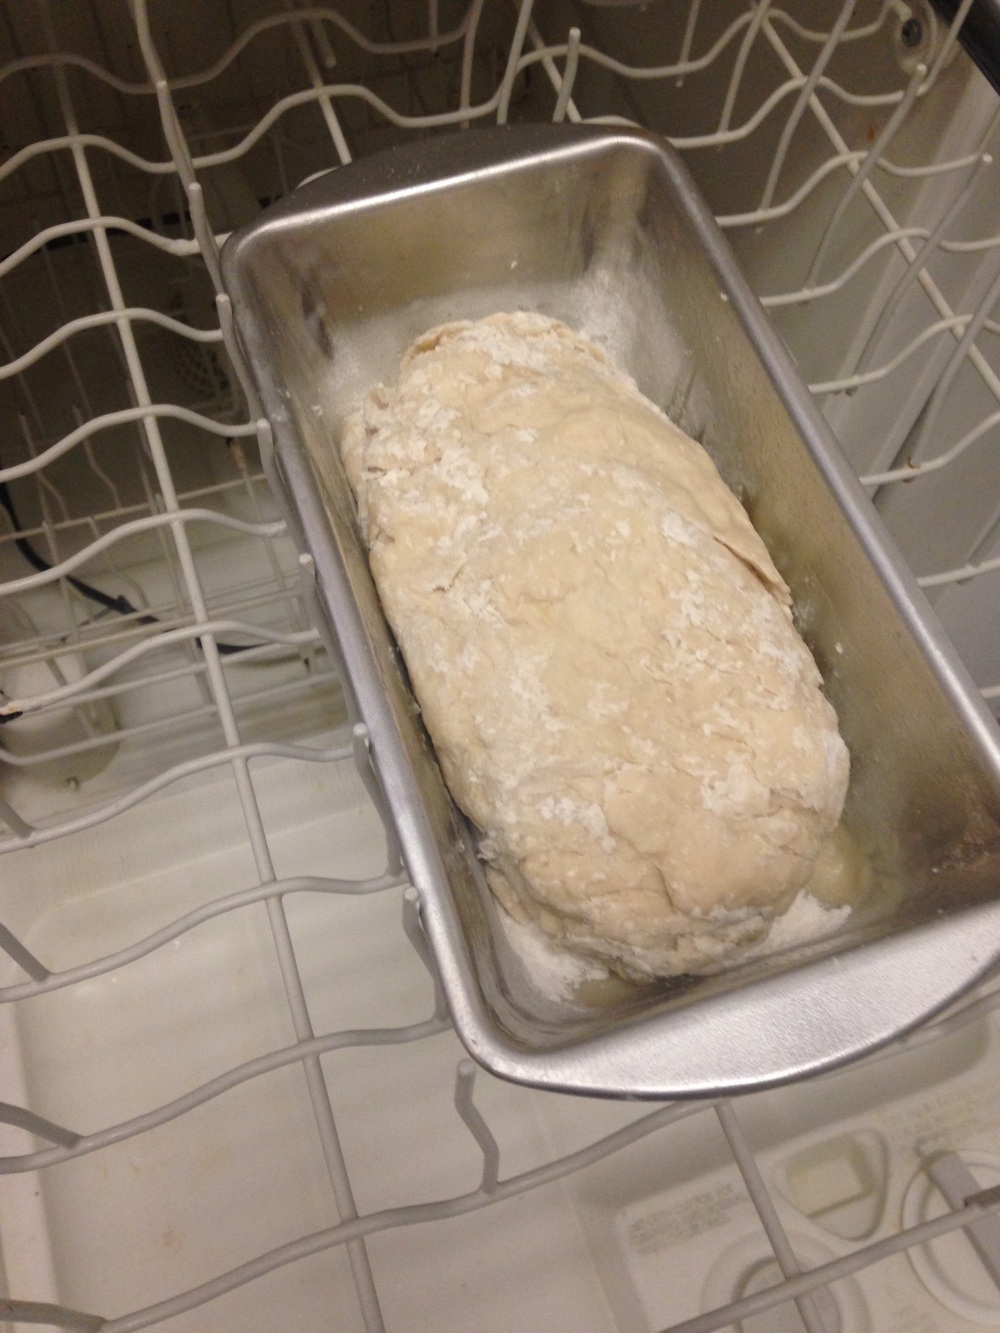
Why yes, that is the top rack of my dishwasher. It turns out the dry cycle of my dishwasher gives me a perfect warm place for the dough to rise. Just make sure to cover it with a tea towel (and only use the dry cycle… pot scrubber will ruin your dough). If should could out something like this:
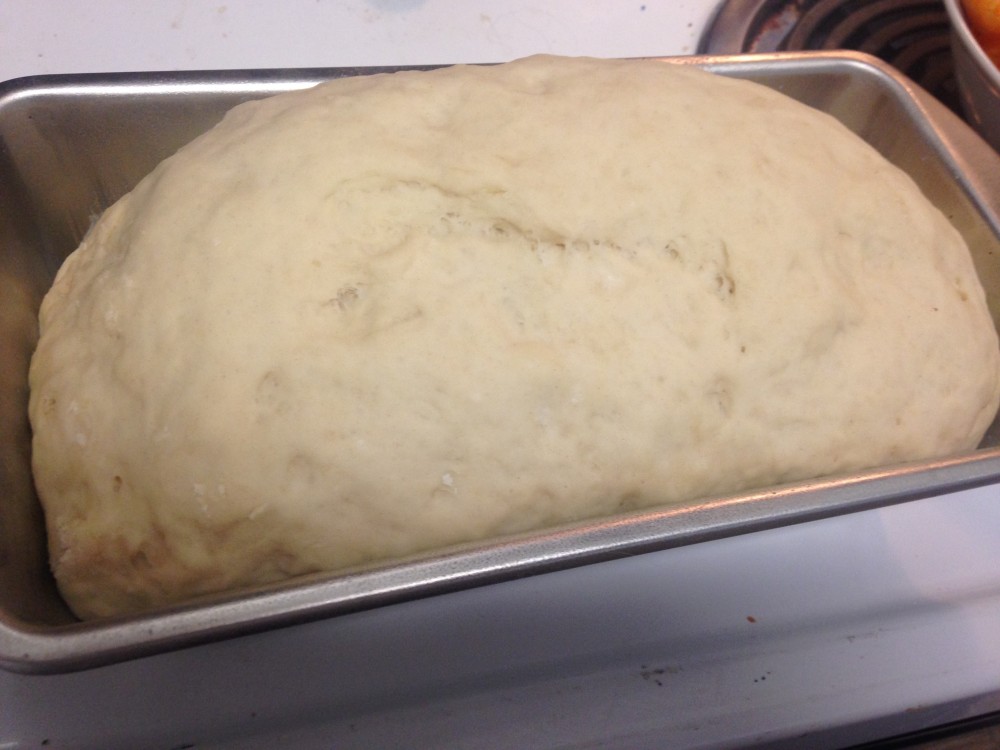
Bake for about 30 minutes at 375. It will be golden brown and delicious and ready for anything! It’s great for sandwiches (especially Thanksgiving leftover sandwiches!), for french toast, or just eating with some butter (dairy- and soy-free in our case). Delicious!


Bread-in-a-bag
- 3 cups flour, divided
- 3 Tbsp sugar
- 1 pkg active dry yeast (I use RapidRise)
- 1 cup warm water
- 3 Tbsp olive oil or vegetable oil
- 1½ tsp salt
- In a gallon-sized zip-top bag, combine 1 cup of flour, sugar, yeast, and water. Squish bag until well-combined. Let rest for 10 minutes.
- Add 1 cup of flour, oil, and salt. Squish until well combined.
- Add final cup of flour, and squish until well combined.
- Turn dough out onto a lightly floured surface and knead for 5-10 minutes.
- Place dough into a lightly oiled and floured loaf pan. Cover with a towel and allow to rise in a warm place for 30 minutes.
- Bake at 375 until golden brown and delicious (about 30 minutes)
Many thanks to Leigh Anne at www.yourhomebasedmom.com for posting this recipe and allowing me to share it here! I’m very grateful to have found a bread recipe my EOE kid can have and so happy that I can share it with the rest of you.


Hi,
That bread looks good. My daughter-in-law is allergic to gluten, so I have to be careful what I serve her.
I met you in the Community Pool where you indicated you are a new blogger. Congratulations on starting your blog! Maybe you can check out my blog. I help new bloggers at my site. I also hold 10 blogging events each month where you could meet new readers.
Janice
LikeLike
Thank, for the tip, Janice. I’ll check it out!
Wheat (gluten) is the only one of the Top 8 allergens that my little guy CAN have, so I’m glad he can at least have this! If you have any great foods/recipes you’d like to share with the allergy community, I’d be happy to hear them!
LikeLiked by 1 person
I don’t, but I will look forward to your visit to my blog. Thank you for your reply.
Janice
LikeLike
Here I am thinking that making bread is hard, but you and your girls make it look so easy! I will definitely give it a try! 🙂
LikeLike
This is hands down the easiest bread I have ever made. I’d love to hear how it goes for you!
LikeLiked by 1 person